0% intro APR for 15 months on purchases and b… Discover it® Cash Back Calculators How we make money
VOATLAS
How to Budget for an Outdoor Kitchen Island

How to · Home

How to Budget for an Outdoor Kitchen Island

Build your backyard kitchen in the off-season to save on labor and use a simple payment plan to keep your cash flow steady.

Typical cost $3,500 before anything else
Across the 0% window $233.33/mo 15 months, no interest

How we got that: $3,500 spread evenly across the 15-month introductory window on the Discover it® Cash Back. Checked · at the bank Carry a balance past the window and the standard APR applies to what is left.

A custom grill island changes how you host, turning your backyard into a permanent kitchen. You get to cook outside without running back and forth to the house, and with the right setup, it becomes the center of your outdoor living space.

Timing is everything here. If you buy your components in late fall, you can often catch sales and hire contractors during their slow months for lower labor rates. Plan for a few weeks of site prep and assembly, then get ready for the first spring cookout.

The 0% intro APR for 15 months on purchases is not free money, it is just a window to pay off the cost without interest. If you still have a balance once those 15 months are up, the standard interest rate will start applying to whatever you owe.

The steps

  1. 01

    Get three quotes

    Don't just pick the first contractor you call. Get at least three written quotes for the labor and installation of your specific grill components. Compare them side-by-side to make sure you aren't overpaying for the assembly.

  2. 02

    Calculate your monthly payment

    The project costs about $3500. If you divide that by the 15-month intro window on the Discover it® Cash Back, you get a payment of $233.33 per month. Set up an auto-pay for that specific amount so you stay on track.

  3. 03

    Order in the off-season

    Aim to buy your grill island components during late fall or early winter. Retailers often clear out inventory during this time, and installers are usually looking for work to fill their schedule. You might save a significant amount on both parts and labor.

  4. 04

    Prepare the site

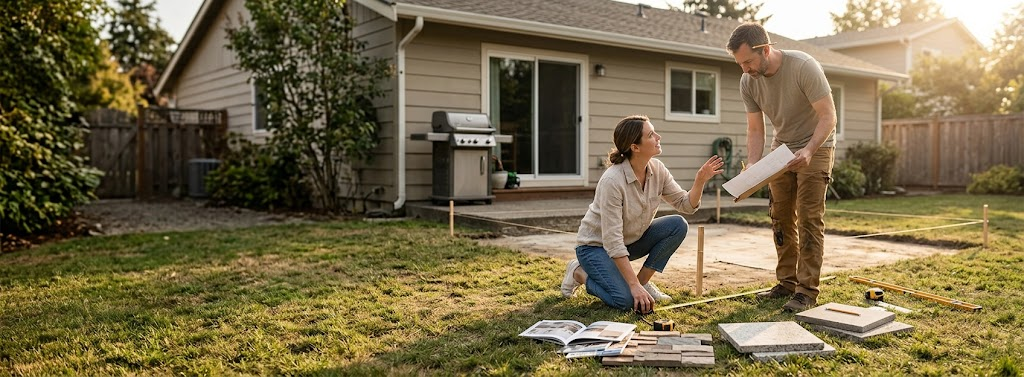
    Before the parts arrive, make sure your patio or deck is level and can handle the weight. Check with your local building office to see if you need a permit for a permanent gas or electrical line. Doing this groundwork early prevents costly delays.

  5. 05

    Manage the assembly

    Whether you are doing a DIY build or hiring out, track every receipt and invoice in one folder. If you find extra money in your budget, put it toward the balance immediately to shorten your repayment timeline.

  6. 06

    Check the card terms before you commit

    Every figure we publish for the Discover it® Cash Back carries the date a person verified it against Discover and a link to where they checked. Intro windows and APRs change without notice, so confirm the current terms before applying.

    See Discover it® Cash Back terms →

Common questions

Should I pay for the whole grill with one card?

Using the card to spread out the $3500 cost over 15 months makes the project easier on your monthly budget. Just be sure you can comfortably afford the $233.33 payment every month.

What happens if I miss a payment?

Missing a payment can lead to late fees and might even end your 0% intro APR period early. Always set up an automatic payment to ensure you never miss a due date.

Is it cheaper to DIY the install?

DIY is almost always cheaper, but it requires tools and time. If you aren't confident with gas or electrical lines, pay a pro to handle the utility connections to keep your home safe.

Are there hidden costs?

Beyond the grill island itself, budget for base materials like gravel or pavers, utility hookups, and potential shipping fees. Always add 10% to your total estimate for things you didn't foresee.